


In this tutorial, We will show you How to Manage Blacklist using Visual Magento 2 Form Builder of Landofcoder.
This Feature of Magento 2 Form Builder allows admin to Block IP and Email with ease. So your store can avoid spam emails. So it doesn’t allow emails and IP address submit Form.
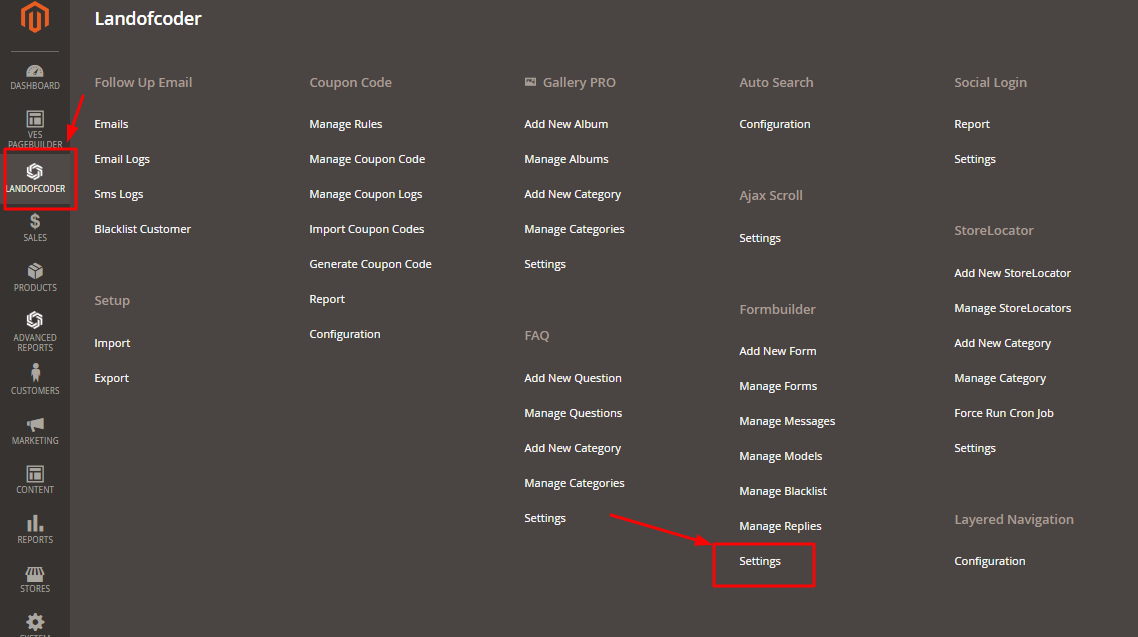
To manage the blacklist you should go to admin > Landofcoder > Lof formbuilder > manage blacklist

In Manage Blacklist, there are two steps:
- Create new blacklist
- Enable the blacklist
Now Let’s go to manage Blacklist with us!
Table of Contents
I. Create New Blacklist using Magento 2 Form Builder
Firstly, Click “Add New Blacklist” in the top-right corner of the screen.
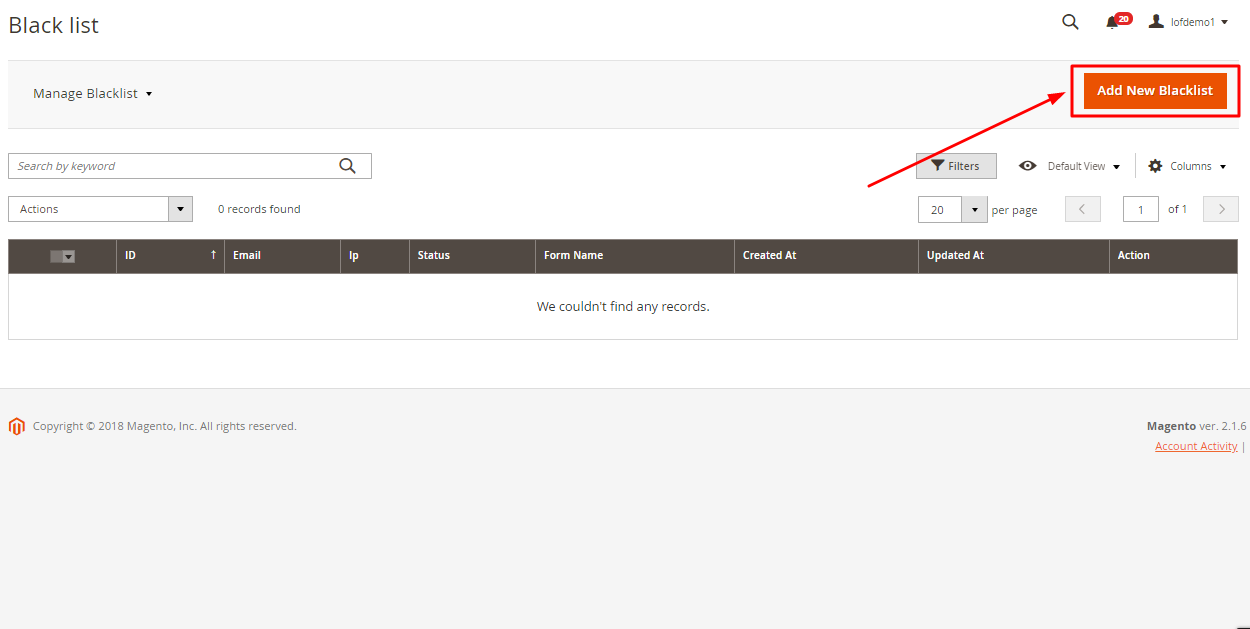
- Fill the Blacklist information such as IP Address, Email address, Form Id,…Â
- Change the status to “Blocked”
- Click “Save” to save your new Blacklist

II. Enable the blacklist using Magento 2 Form Builder
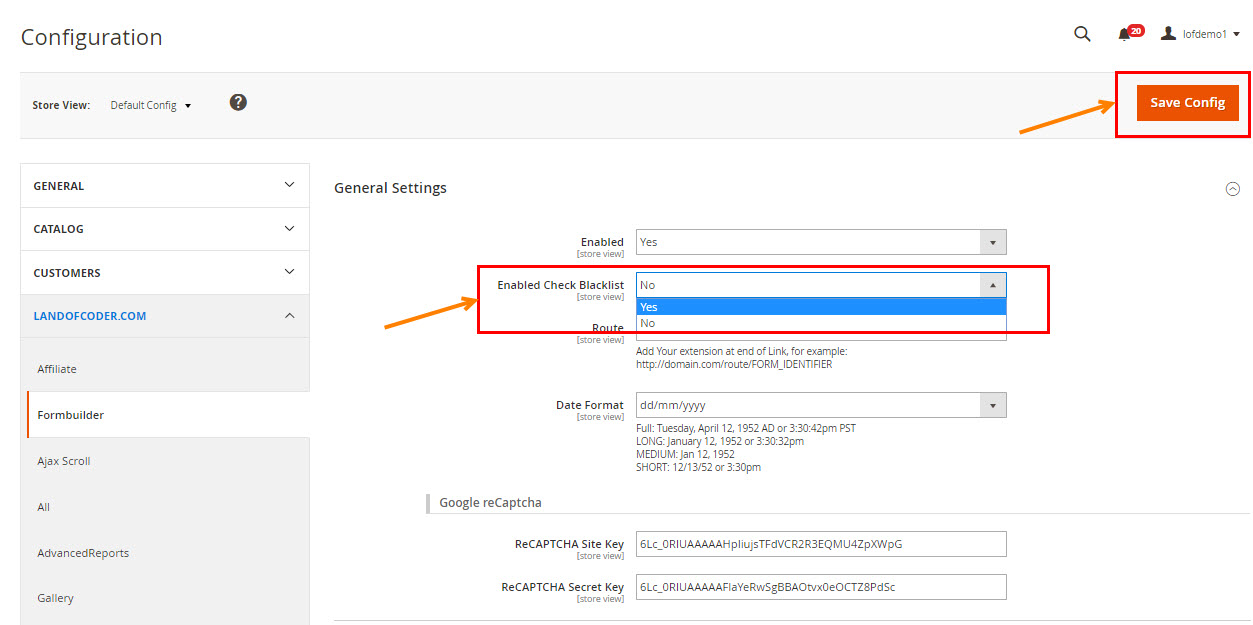
To Enable the blacklist that you have just created, please go to admin > landofcoder >  formbuilder > settings
Then enable the option and click “Save config”
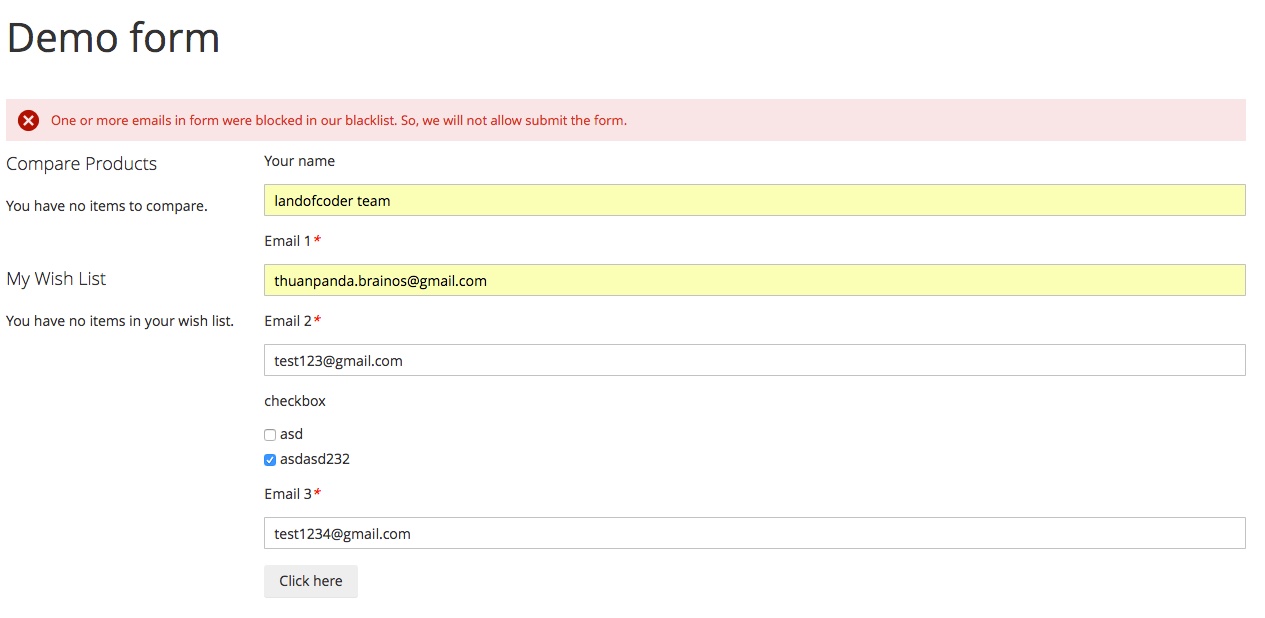
Congratulation! You have successfully managed the Blacklist using Visual Magento 2 Form Builder. If you wanna change anything in the blacklist, follow again all the steps below and fix it. On the front-end, you will get the result:
MAGENTO 2 Form BUILDER TUTORIALs
- How To Install Magento 2 Form Builder & Sample Data
- How to configure Magento 2 Form BuilderÂ
- How to create a Contact Form using Visual Magento 2 Form Builder
- How to create Hotel Reservation Form With Magento 2 Visual Form Builder
SOME OTHER EXTENSIONS YOU MAYBE INTERESTED IN
- Magento 2 Store Pickup
- Magento 2 Social Login
- Magento 2 Store LocatorÂ
- Magento 2 Follow Up Email
- Magento 2 Advanced Reports
- Magento 2 Affiliate Extension
- Magento 2 FAQ Extension
- Magento 2 SMTP Extension
RELATED POSTS
- Top 10+ Best Magento 2 Multi Vendor Extensions | Powerful Marketplace Modules
- 4+ Best Magento 2 Out Of Stock Notification Extension Free & Premium
- 5+ Best Magento 2 SMTP Extensions Free & Premium
- 7+ Best Magento 2 Layered Navigation Extensions Free & Premium
- 10+ Best Magento 2 Store Locator Extension Free & Premium
- 5+ Best Magento 2 Testimonials Extensions Free & Premium
- 10+ Best Magento 2 Marketplace Themes
- Top 10 Magento 2 Multistore Themes
- 10+ Magento 2 Advanced Report Extensions
- 14+ Best Magento 2 Social Login Extension Free & Premium
- Top 9 Magento 2 Reward Points Extension Free & Premium
- 10+ Best Magento 2 Blog Extension Free & Premium
- 10+ Best Magento 2 FAQ Extension Free & Premium


