


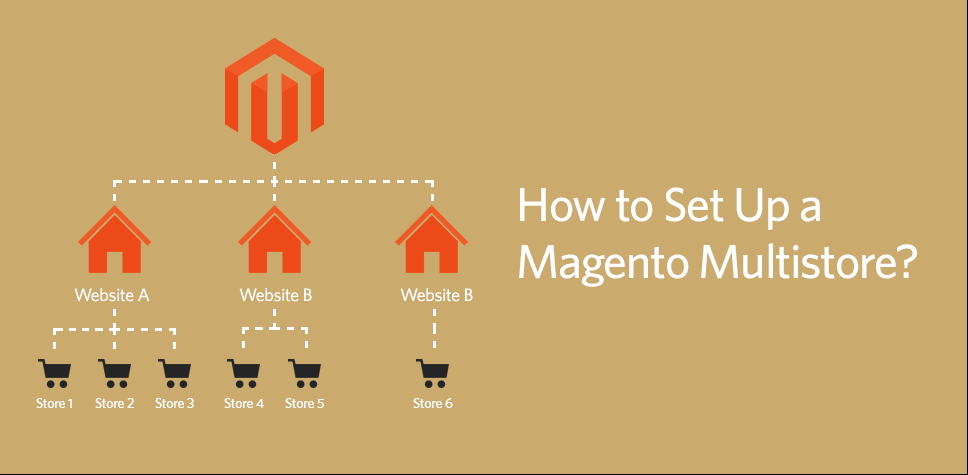
What is Magento 2 Multiple Stores? Let’s begin with the definition of it!
Magento 2 Multiple Stores Setup means creating multiple stores fronts within a single shared Magento installation. Thus, from admin panel, database will be much easier.
Why do you need Multiple Stores?
To be more specific, these are what you can do with multiple stores:
- Different theme setup suitable for product type for each store
- Product publishing on specific stores.
- Different language, currency, payment, tax, and delivery options applied to each store.
- Customer group setup for each store.
Now, let’s see how to work with Magento 2 Multiple Stores
Table of Contents
Quick Jump
2. Change Multiple Stores Logo
Create Multiple Stores
Step 1: Create Root categories
This step is optional. In case you want a unique root category for your website so that you can list different products and categories in your store, then go ahead. If not, just skip this step.
First, log in to Admin Panel, navigate to Products –> Categories.
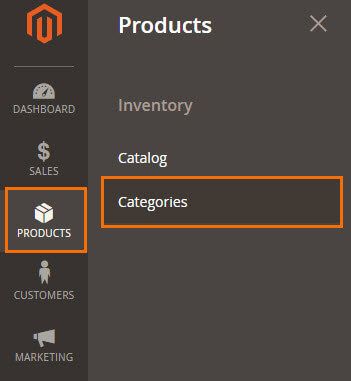 Then, click on Add Root Category

 Set Enable Category field to Yes
The name you choose for Category Name will be displayed in all store views.
Step 2: Create a website
In Admin panel, go to Stores > Settings > All Stores.
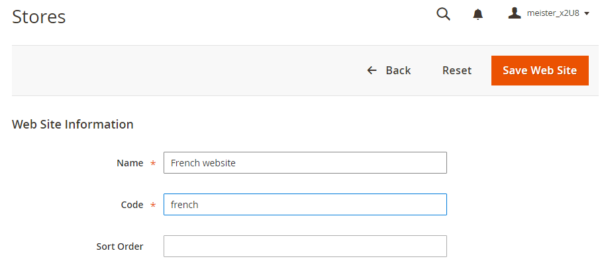
On the Stores page, click Create Website.
- Name field: The website name
- Code field: This is store code, pick a unique one to avoid conflicts
- Sort Order field: The order of your store’s priority. It’s optional
Finally, click Save Web Site button
Repeat the same steps to create as many websites as you wish.
Step 3: Create a store
In Admin panel, click Stores > Settings > All Stores.
On the Stores page, click Create Store.
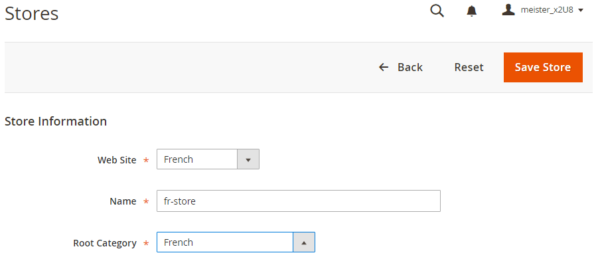
- Web Site list: Select the website associated with your new store.
- Name field: Enter a name for your new store
- Root Category list: Click the name of the root category for your store. (Supposing that you’ve already created Rood category in the former step.)
When you’re done, hit Save Store button. This will lead you to the store list. You can see that your new store has been assigned to the website.
Repeat the same steps to create as many stores as you wish.
Step 4: Create a store view
In Admin panel, click Stores > All Stores.
The Stores page, click Create Store View.
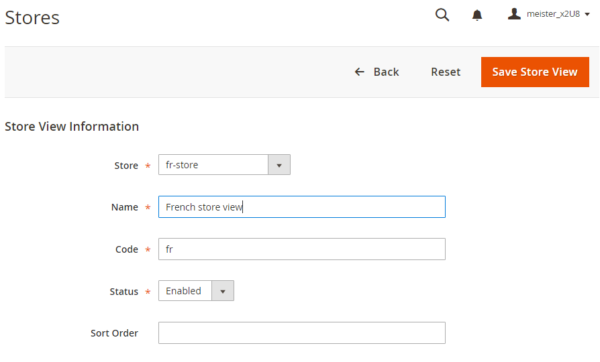
- Store list: Click the name of the store associated with your new store view.
- Name field: Enter your store view name, make it unique
- Code field: Enter a unique name to identify this store view.
- Status list: Set to Enabled.
- Sort Order: This field is optional
When you are done, click Save Store View button.
Repeat the same steps to create as many store views as you wish.
Step 5: Configure your new store.
In the Admin panel, click Stores > Configuration

From the Store View dropdown menu in the up-left corner of the page, choose the name of the website.
Then, in the left side bar, expend the General section.
Next, click Web.
Now, expand the Base URL section
In the Base URL field, if you want to use main store URL, keep the Use Default box checked. Otherwise, uncheck the box and customize the base URL.
Repeat the same steps for the Secure Base URL section.
Step 6: Add store code to the base URL
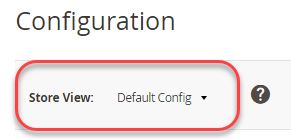
In the Admin panel, click Stores > Configuration
On Configuration page, select Default config
Next, expand Url Options.
Uncheck the Use system value box next to Add Store Code to Urls.
Set Add Store Code to Urls to Yes.
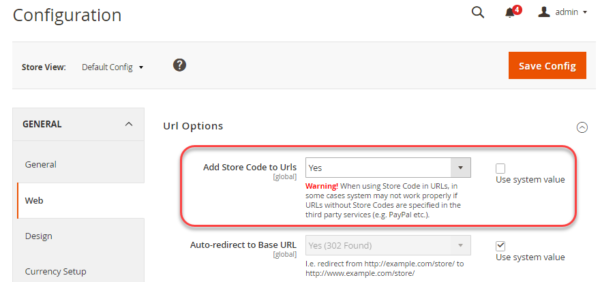
Now, hit Save Config button.
Step 7: Change the default store view’s base URL
In the Admin panel, click Stores > Configuration
On Configuration page, select Default config
Next, expand the Base URLs section and enter your base URLs
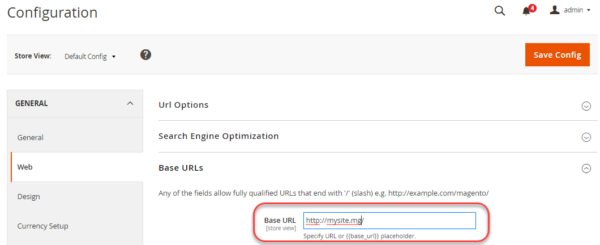
To end the procedure, click Save Config.
2. Configure Magento 2 Multiple Stores
2.1 Change Logo
Things to bear in mind before uploading logo
The location and size of the logo in the header is determined by the e-commerce store’s theme. Your logo might be saved as either a JPG, SVG, PNG, or GIF file type, and uploaded from the Admin of your e-commerce store.
Any image file with by that name and at that location is used as the theme logo. The logo image resides in the following location on the server.
Path: app/design/frontend/[vendor]/[theme]/web/images/logo.svg
Especially, to make you logo well-displayed in high-resolution devices, upload your logo whose dimensions are three times as large as required size. You might open the page in a browser, right click the image, then inspect the element if you don’t know the size of the logo, or any other image that is used in your theme.
Moreover, to the logo in the header, your logo also appears on PDF invoices, email templates and other sales documents. You might upload the logo used for email templates and invoices separately, because it has different requirements and size.
Upload Store Logo
First, log in to Admin Panel.
In the Admin sidebar, navigate to Contents > Design > Configuration
Next, in the management table in the new page, select your current theme and click Edit under Action
Now, in the new page, scroll down to see Other Settings section, expand Header.
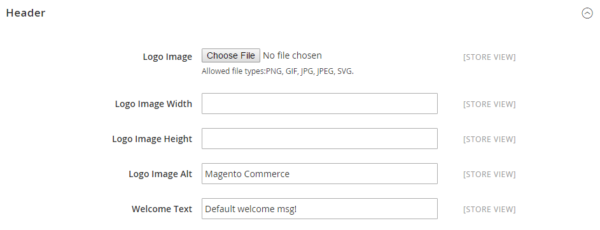
In Logo Image field, click on Choose File button, then browse and choose your logo.
Then, enter the Logo Image Width and Logo Image Height.
In the Logo Image Alt field, enter the text that you want to appear when someone hovers over the image.
Click on Save Config to finish.
Change Email Logo
Repeat the same steps to go to Other Settings section in design configuration page.
Then, scroll down to the end, you will see Transactional Emails
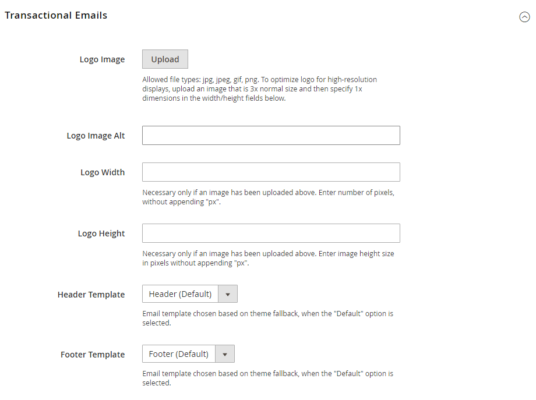
Click Upload to choose the image file you want to apply to your logo.
Logo Image Alt: The alt tag for your logo goes here, and in most cases, it will be the name of your store.
Logo Width: Enter the width of the logo in “px†here. If you leave this field blank then a full-sized image will appear in the email. So, if you want to show an image of 200×150 then you type 200 in this field.
Logo Height: Enter the height of the logo in this field.
Header Template: If you have a custom theme, then you can select the header and footer templates for your transactional emails. If your theme does not have templates for emails then it will fall over to default Magento 2 theme. Â
Footer Template: This selects the footer of the email.
To end the procedure, click Save Config.
Set up Multiple Languages
Install a language pack
Get started by installing a language pack.
Log in to your Magento 2 account, then go to Magento Connect to download the language you want to add.
After downloading, click Install Now.
Next, click Get the Extension Key and Select. Finally, copy the license key.
Return to your store Admin. On the Admin sidebar, tap System.
Then under Extensions, choose Integrations. When prompted, log in to Magento Connect Manager. Now, follow these steps:
- In the Install New Extensions section, paste your extension key.
- Tap Install. The language pack you have chosen appears below.
- When ready to begin, tap Proceed.
To return to your store, click the Return to Admin link at the top of the page.
Set up a language
In Admin Panel, go to Stores > Configuration
Set Store View to the one you want language applied to. (Supposed that you’ve already created your store views. If not, start creating a store view now)
In General section, click General.
Next, start customizing the Country Options, States Options, and Locale Options.
Repeat the steps above to create as many languages as you wish.
Set up Multiple Currencies
Follow the same steps as when you set up language and go to General section.
Next, expand Currency Setup
Set your Base Currency, let’s say US Dollar. The same for Default Display Currency.
Now choose the currency you want to add in Allow Currencies dropdown menu. For multiple select, hold Ctrl and click on right currencies.
To finish, click Save Config.
Hope that this fundamental tutorial will work well for your own Magento 2 Multiple Stores.
Related posts
Magento 2 Language Translation Tutorials
Magento 2 : How To Creates Custom Widgets


