You are running a store of T-shirts with a crazily enormous range of variations to offer customers more options to choose instead of only the default. For example, a T-shirt can be varied in different colors, sizes, genders as well. The issue now is: How can you manage well these products with the number variations? In order to assist the store owners organize their stock, Magento 2 provides a default module to create a configurable product.
A configurable product appears to be a single product with multiple variations and drop-down lists of options for each variation. Actually, each option is a separate simple product with a unique SKU to track inventory for each product variation.
Setting up the configurable product includes many steps, however it’s not complicated at all as your thought. Just keep track of our following tutorial, you will find it easy to complete the task.
Table of Contents
How to create Configurable Product in Magento 2?
Although a configurable product uses more SKUs and may initially take a little longer to set up, it can save your time in the long run. If you plan to grow your business, the configurable product type is a good choice for products with multiple options. Pls read the instruction below to help you how to create configurable product.
Part 1: Creating a configurable product
Step 1: Choose the product type
- On the Admin sidebar, go to Catalog > Products.
- On the Add Product menu at the upper-right corner, choose Configurable Product.

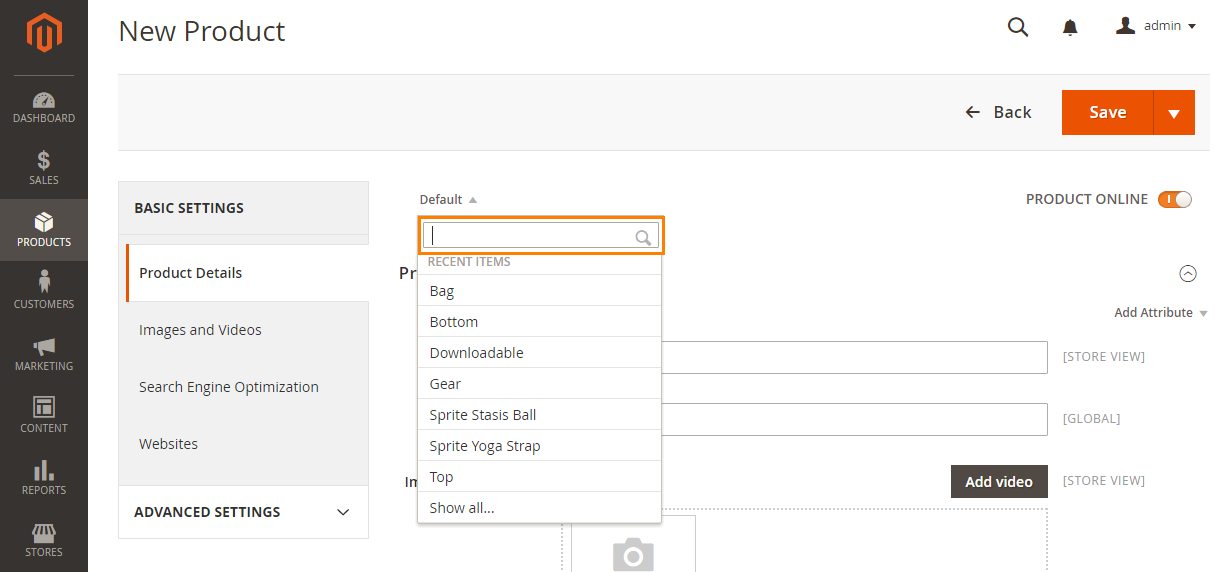
Step 2: Select the Product Template
To choose Product Template, you can follow one of two ways:
- Create a new template: Enter directly the name of the template that you want to choose in the Search box
- Duplicate the template that you want to use: Click in the list and choose one of the configurable product templates.
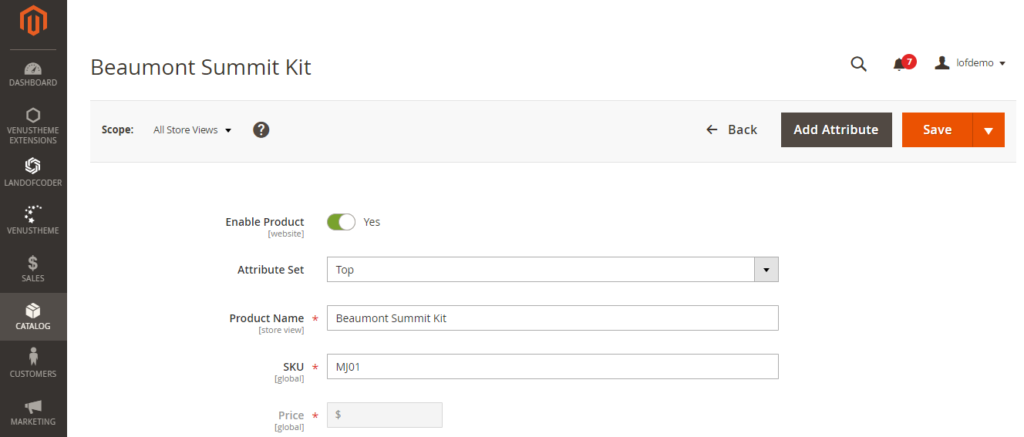
Step 3: Complete the required settings
- Enter the product Product Name.
- Accept the default SKU that is based on the product name or enter another.
- Enter the product Price.
- Because the product is not yet ready to publish, set Enable Product to No.
- Click Save and continue. When the product is saved, the Store View chooser appears in the upper-left corner.
- Choose the Store View where the product is to be available.
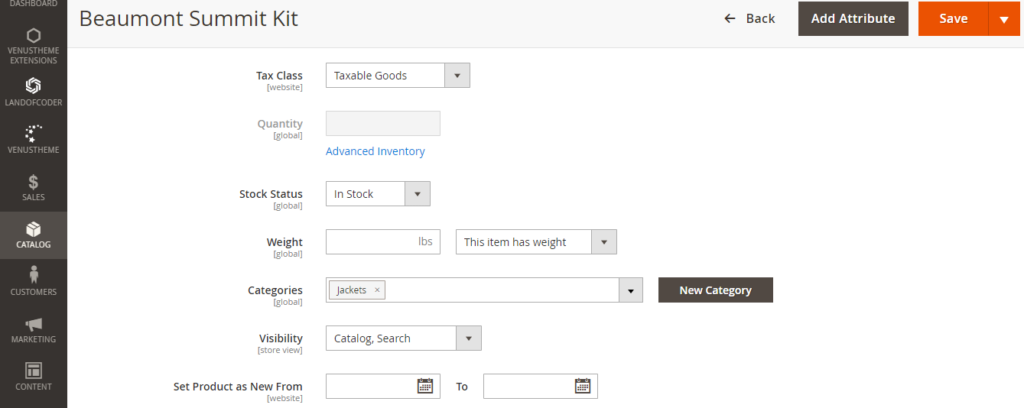
Step 4: Complete the basic settings
- Set Tax Class to one of the following: None or Taxable Goods
- The Quantity is determined by the product variations, so you can leave it blank.
- Leave the Stock Status as set.
Because the product was saved without entering a quantity, the Stock Status is set to Out of Stock. - Enter the product Weight.
- Accept the default Visibility setting of Catalog, Search.
- To feature the product in the list of new products, select the Set Product as New checkbox.
- To assign Categories to the product, click the Select box and do either of the following:
- Choose an existing category:
- Begin typing in the box to find a match.
- Choose the checkbox of the category that is to be assigned.
- Create a new category:
- Click New Category.
- Enter the Category Name and choose the Parent Category to determine its position in the menu structure.
- Click Create Category.
8. Choose the Country of Manufacture.
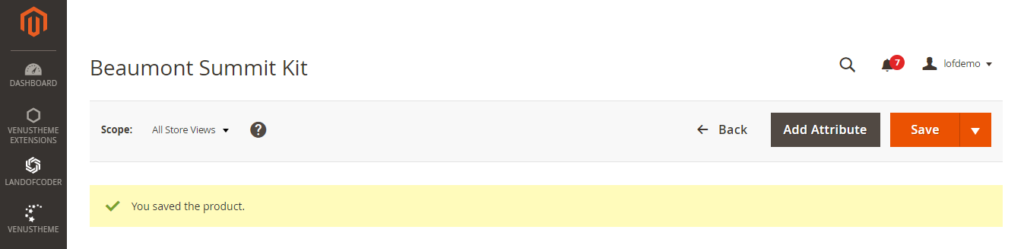
Step 5: Save and continue
This is a good time to save your work. In the upper-right corner, click Save.
In the next series of steps, you’ll set up the configurations for each variation of the product.
Part 2: Adding configurations
Configurable products allow customers to choose options (Ex:T-shirt color, size, gender). You need to create a simple product for each configuration (Ex: a product for each color).
The progress bar at the top of the page shows where you are in the process and guides you through each step.

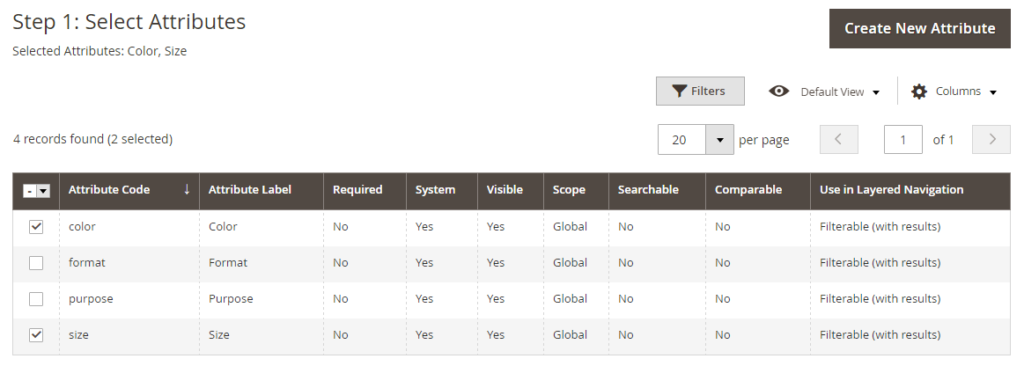
Step 1: Select Attributes
- Continuing from above, scroll down to the Configurations section and click Create Configurations.
- Select the checkbox of each attribute that you want to include as a configuration.
For this example, we choose color and size. - The list includes all attributes from the attribute set that can be used in a configurable product.
- If you need to add a new attribute, click Create New Attribute and do the following:
- Complete the attribute properties.
- Click Save Attribute.
- Select the checkbox to select the attribute.
- In the upper-right corner, click Next.
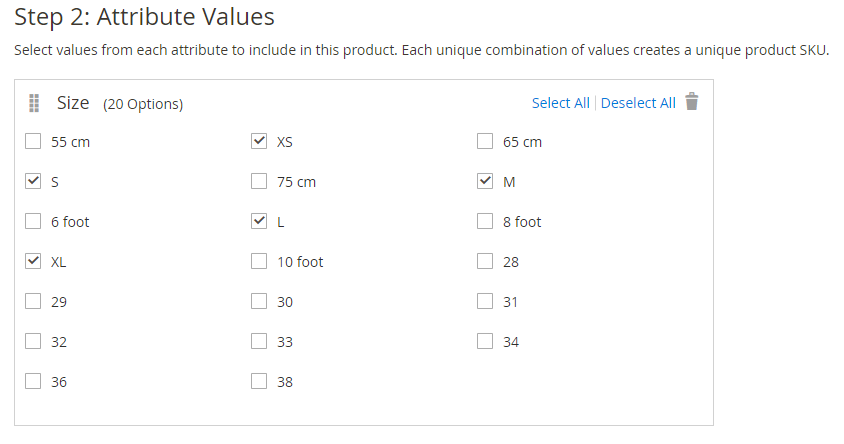
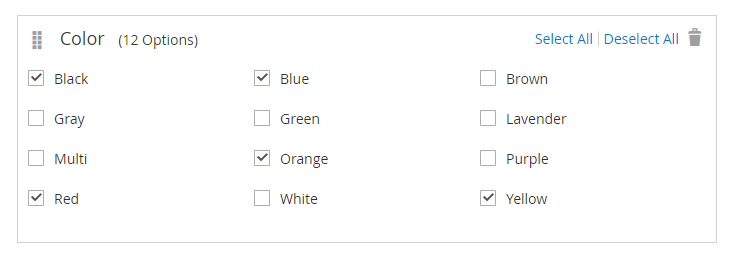
Step 2: Attribute Values
- Select values from each attribute to include in this product. Each unique combination of values creates a unique product SKU.
- To rearrange the attributes, grab the Change Order icon and move the section to a new position.
The order determines the position of the drop-down lists on the product page. - In the progress bar, click Next.
Step 3: Bulk Images, Price and Quantity
Use this step to customize images and price for your new products. The available options are the same for each, and you can choose only one. You can apply the same setting to all SKUs, apply a unique setting to each SKU, or skip the settings for now.
Choose the configuration options that applies.
3.1. Configure the Images
Use one of the following methods to configure the images:
Method 1: Apply a Single Set of Images to All SKUs
- Select Apply single set of images to all SKUs.
- Choose the desire image from your browse
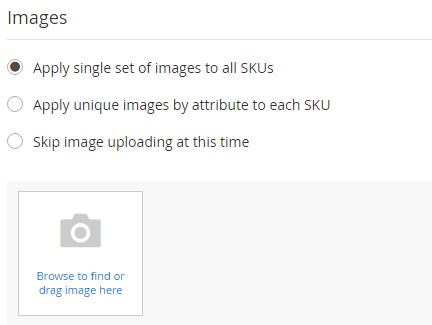
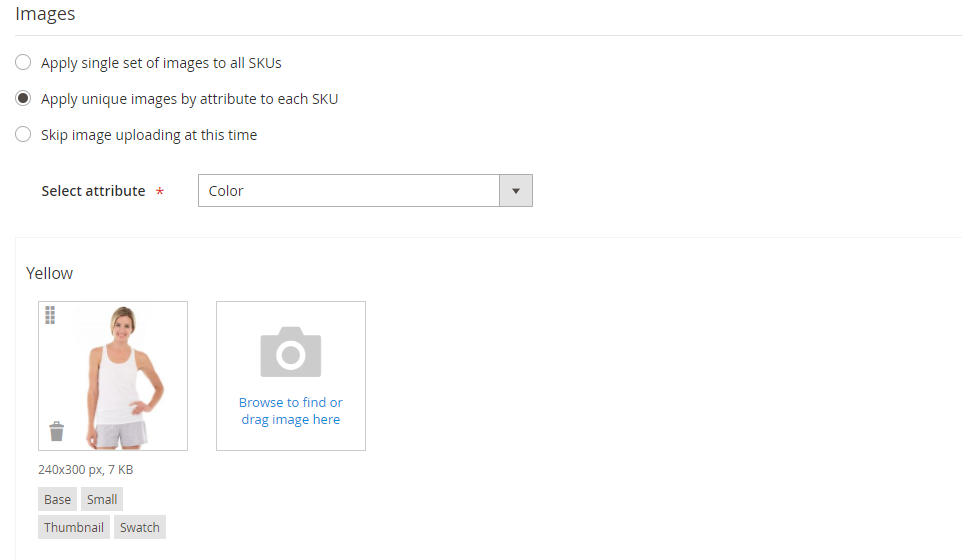
Method 2: Apply Unique Images for Each SKU
- Select Apply unique images by attribute to each SKU.
- Select the attribute, for example: color. If your shopper choose a specific color, the image will appear.
- Choose the desire image from your browse. If want to delete the image, click on the bin icon.
3.2. Configure the configurable product price
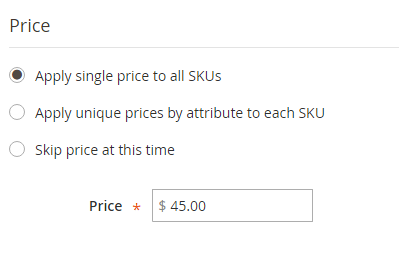
Method 1: Apply the Same Price to All SKUs
- Select Apply single price to all SKUs.
- Enter the Price.
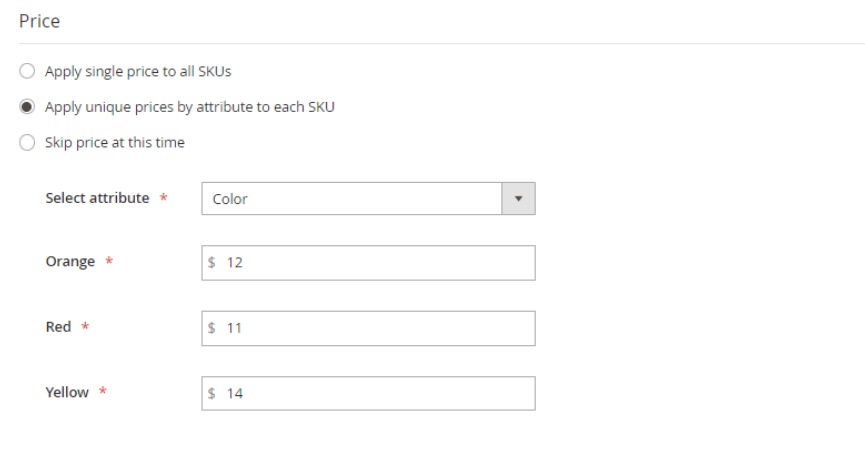
Method 2: Apply a Unique Price for Each SKU
- Selec
tApply unique prices by attribute to each SKU. - Select the attribute you want to offer a specific price.
- Enter the Price.
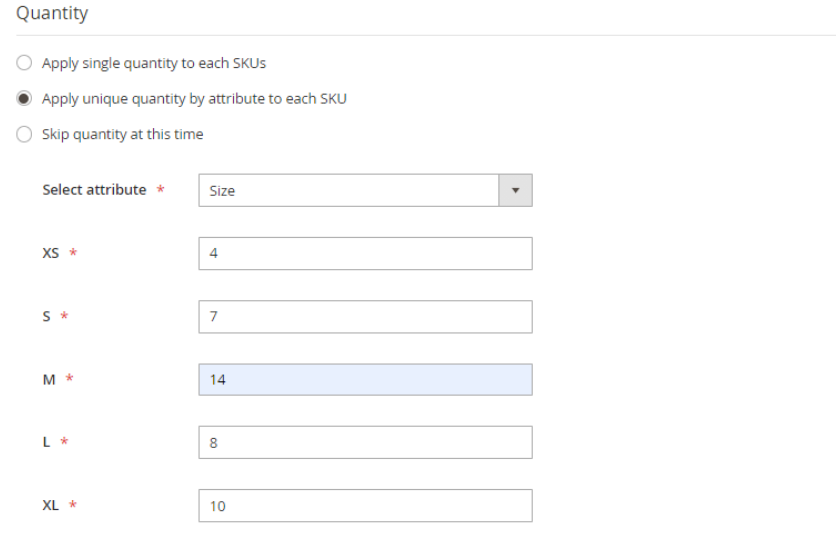
3.3. Configure the Quantity
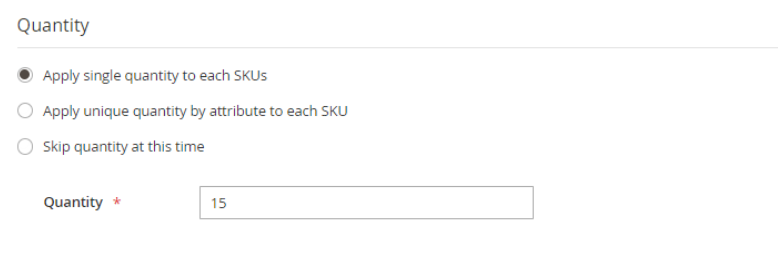
Method 1: Apply the Same Quantity to All SKUs
- Select
- Enter the Quantity.
Method 2: Apply a Unique Quantity by Attribute
- Select Apply unique quantity by attribute to each SKU.
- Enter the Quantity.
Click on Next in the upper-right corner to continue.
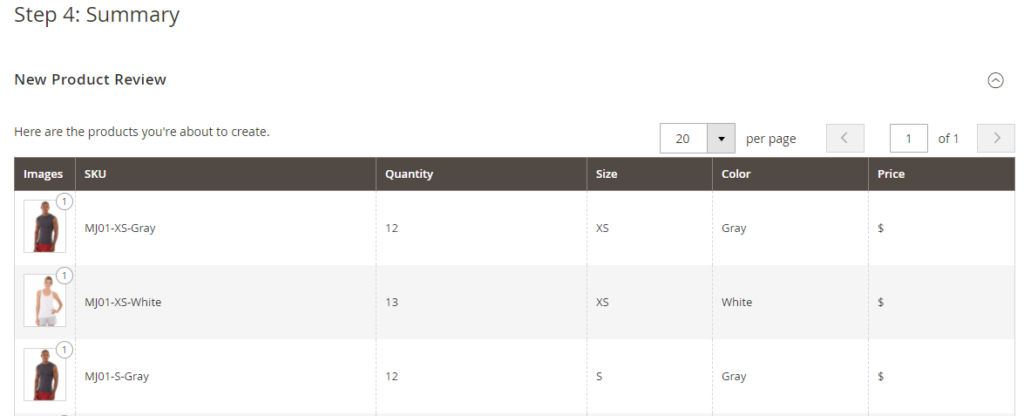
Step 4: Generate the product configurations
Wait a moment for the list of products to appear and do one of the following:
- If you are satisfied with the configurations, click Next.
- To make corrections, click Back.
Step 5: Complete the product information
Scroll down and complete the information in the following sections as needed:
- Content
- Related Products, Up-Sells, and Cross-Sells
- Search Engine Optimization
- Customizable Options
- Products in Websites
- Design
- Gift Options
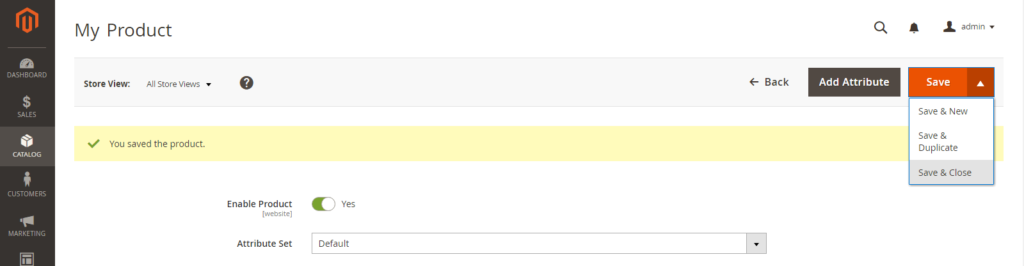
Step 6: Publish the product
If you are ready to publish the product in the catalog, set Enable Product to Yes and do one of the following:
Method 1: Save and preview
- In the upper-right corner, click Save.
- To view the product in your store, choose Customer View on the Admin menu.The store opens in a new browser tab.

Method 2: Save and close
- On the Save menu, choose Save & Close.
Things to remember
- A configurable product lets shoppers to choose options from drop-down, multiple select, visual swatch and text swatch input types. Each option is a separate, simple product.
- The attributes used for product variations must have a global scope and the customer must be required to choose a value. The product variation attributes must be included in the attribute set that is used as a template for the configurable product.
- The attribute set used as a template for a configurable product must include the attribute(s) that contain the values that are needed for each product variation.
- The thumbnail image in the shopping cart can be set to display the image from the configurable product record or from the product variation.
Other Suggestion For Configurable Product Extensions
Above are steps to create a configurable product in default Magento, however it can take you a long time to complete if you own an online store containing thousands of simple products. Moreover, if you want to increase sales volume, you need to enhance the customer’s experience by reducing click-through time, which means they can choose various options and attributes for a selected product on the same page very quickly.
Here we highly suggest you one of outstanding extensions from Landofcoder: Magento 2 Configure Product Grid View. By enabling this extension, you can easily organize all configurable products in a neat and clear grid view that provides all related information such as stock status, price details, total quality, and value, etc. Magento 2 Configure Product Grid View allows customers to easily view all products and add multiple items into their shopping cart at once. By shortening shopping time for customers, store owners can increase their sales effectively.
Related Topics: