It’s is undoubted that Magento is the world’s largest and most popular online platform for e-commerce. Here at Land Of Coder, we have developed and brought to you a diverse number of wonderful extensions, including Visual Form Builder.  Â
Please make sure that you have already installed Magento 2 Form Builder on your site before you start creating your own form. You can rest assured that this extension is absolutely worthy of your time and effort. If you decide to purchase and install it, you definitely won’t regret your choice.
Link to extension:Â https://landofcoder.com/magento-2-form-builder.html/
Link to tutorial:Â https://blog.landofcoder.com/install-magento-2-form-builder-sample-data/
Today, in this tutorial I’m going to instruct you on how to create a new form with Magento 2 Visual Form Builder in a general and simple way. So, without further ado, let’s dive in!
Step 1: Go to Landofcoder, find ‘Form Builder’ and click ‘Add New Form’

Step 2: Fill in the necessary information in the section ‘Form Information’, including:
- Form Title: Create the title of your new form
- Identifier: Decide the URL link for your form
- Receive Notification: Add the email address which you wish to receive notification when customers submit their forms
- Email Template: Choose the email template you want to send
- Submit Button Text: Add Text for â€Submit Button†here.
- Show reCaptcha: Choose Yes to show reCaptcha
- Show on TopLink: Choose Yes to show Toplink
- Customer Groups: Choose customer groups that you want to show the new form
- Store View: Choose the store view in which you want to show the new form
- Status: Select “Enable†to make your new form public
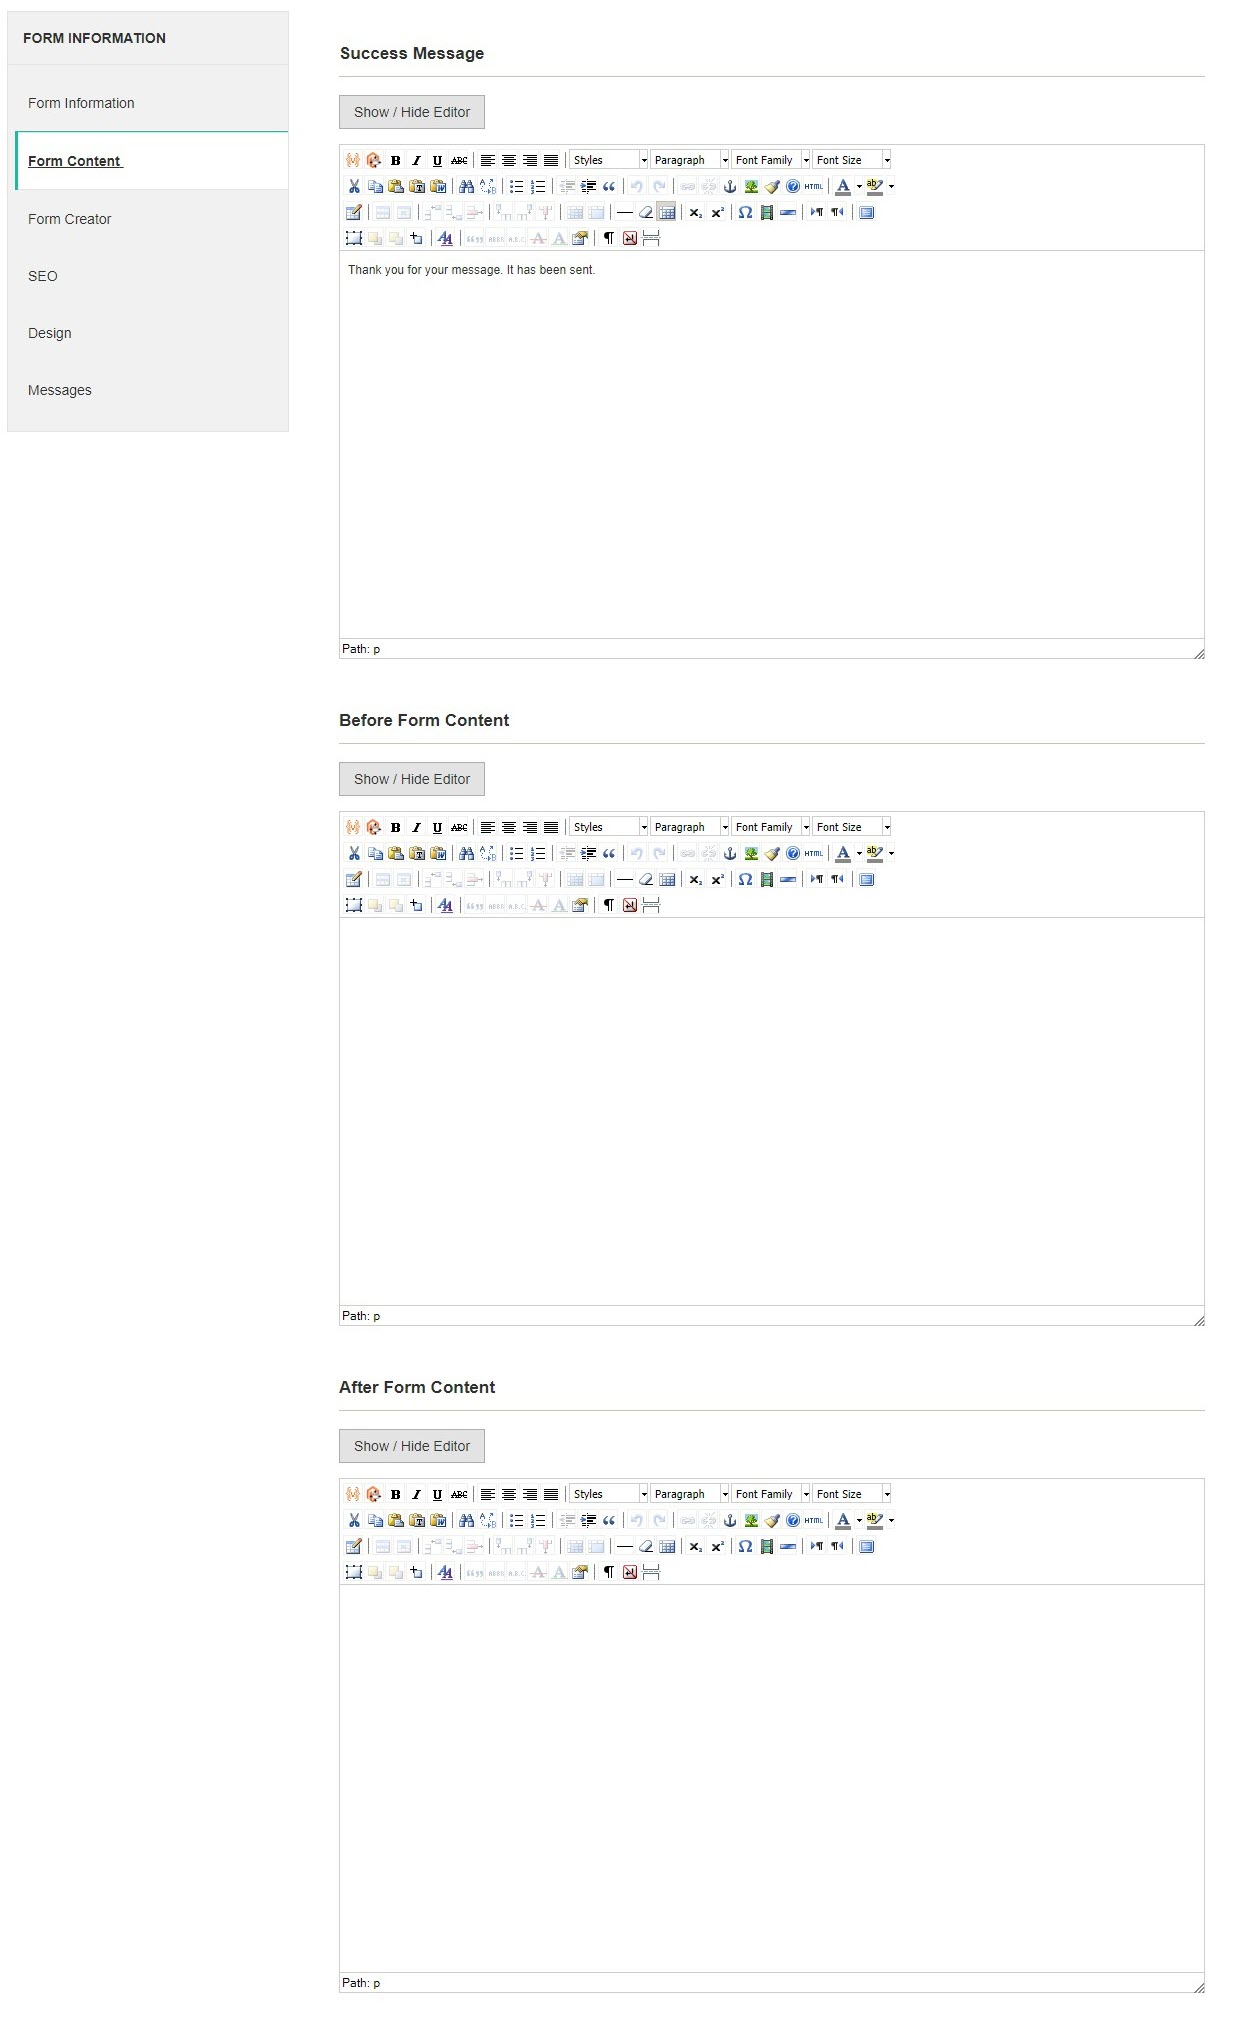
Step 3: Type the messages that show “Before Form†and “After Form†position as well as a successful submission message.

Step 4: Freely select, design and edit all the form fields as you wish
- Text: Easy Drag and Drop movement to create a text box
- Label
- Label: Put the title of this form field here
- Color: Choose the color for the title
- Font Size(px): Input Font size for the title
- Font Style: Choose Font Style for the title
- Font Weight: Input Font Weight for the title
- Place Holder: input placeholder text here
- Bootstrap Column:
- Wrapper width: select column width here (max: 12)
- Field width: select field width here
- Icon: choose the icon that appears in the form field
- Border:
- Width: input desired border width
- Style: select desired border styles here
- Radius: input border radius here
- Color:
- Text: input text color here
- Background: input background color here
- Length Limit:Â Set min/ max for characters or word in the field content.
- Validation: choose the type of content validation that you want
Step 5:Â Fill in the information for the section ‘SEO’:
- Page Title: Type your post title that will be shown at the top of it;
- Keywords: Set keyword for your post
- Description: Write meta description that will be shown on search engine results
Step 6: Click “Design†and “Messages” then edit your information and finally click “Save Formâ€. Congrats! You have succeeded in creating a simple yet wonderful form of your own with the support of Magento 2 Visual Form Builder by Land of Coder.
Here are some other extensions you might be interested in:
- Magento 2 SMS Notification
- Magento 2 Blog Extension
- Magento 2 Price Comparison
- Magento 2 Store Pickup
- Magento 2 Live ChatÂ
- Magento 2 Store Locator
- Magento 2 Customer AttributesÂ
- Magento 2 Image Gallery ProÂ
- Magento 2 Multiple Flat Rate ShippingÂ
- Magento 2 Stripe Payment Pro
- Magento 2 Layered NavigationÂ
- Magento 2 Affiliate Pro
- Magento 2 Auto Search
- Magento 2 Reward PointÂ
- Magento 2 Order Tracking Pro
- Magento 2 Abandoned Cart EmailÂ
- Magento 2 Shipping Per Product


![[SALE OFF] Discount 30% All Premium Extensions On Christmas And New Year 2025 christmas-and-new-year-2025](https://landofcoder.b-cdn.net/wp-content/uploads/2024/12/christmas-and-new-year-2025-1-218x150.png)


